Showing posts with label crafty. Show all posts

Tuesday, 20 December 2011

Bead Bracelet DIY


I've had this hobby for a few months now, but only do it every now and then. I'm not great at making bead bracelets, but its fun, they're cute, easy and addictive! I have to stop myself from buying beads, but buy them in unexpected places ( like H&M for the coloured square box below)I made a few for my friends this Christmas and thought I might try doing a tutorial on making a bead bracelet. I would have posted this earlier but my internets been down all day, but I was going to Winter Wonderland today anyway!


Beads and lots of them! When I first started I picked specific beads for specific bracelets and counted in some extra but now I just buy loads of whatever colour I fancy. I particularly like multi packs and silver packs, most of the beads aren't in their original bags, as I have a little system going on so the prices on the packs aren't accurate. You'll also need some elastic thread which you can buy in any bead shop, it was about £2 for a whole roll, which will last me for ages. Scissors are needed for cutting the thread, and clear nail varnish is handy as it keeps the elastic thread in place.

This is simple, just wrap some around your wrist and give yourself extra room for tying the knots, you cut the excess off later. Don't be stingy because tying knots with short elastic thread isn't easy later on! Make sure the knot is big enough so the beads you want to use won't fall off, triple knot it or more (or you could always put a small bead on the ends and then use normal sized beads after them). Then put clear nail varnish on the knot, as mentioned above, the clear nail varnish helps keep the knot in place. Go for clear since if you use a coloured one it looks weird.


Pick the beads you want and sort them into a pattern that you like. The amount of beads you need depend on how big the beads are and how big you want your bracelet to be. Roughly try to make seven one inch patterns, it should fit a wrist, but add in a few more just in case you drop and loose some or its a bit tight. I like to use those 'made with love' hearts on the end just because they look cute.


Make sure the first bead won't go over the knot since the weight of the other beads might make it slip over if its big enough and then you have beads all over the floor. Threading the smaller beads can be annoying but you just have to have patience. 


Once you've finished threading the beads on, hold the top end tightly and wrap around your wrist to get a general idea of it it'll fit, you can add or take away some beads if you need to, then tie a triple knot and put nail varnish over it. This knots just keeping your beads in place for the next step.


Tie both ends together, make sure its really tight and secure as this is holding the bracelet together and coat the nail varnish all over it. 


Then you cut of the excess elastic so it looks nice and neat. You will have a knot there though, but there are beads you can use to cover them up. I'm too lazy to do that though usually, and you don't tend to notice anyway.


And there you have it! A very easy way to make bracelets. I think they're fun little presents to give, among other presents and to make for yourself. Sorry for the flashy pictures, it was dark when I did this. I'm always more productive in the night and leave blogging till last minute so I have to manually change the time to fit into the "right" day haha!

Sunday, 18 December 2011

DIY Personalised Christmas Stocking


Just a quick Christmas DIY, I never really thought much about setting up whilst doing it, but now I wish I had as these quick snaps annoy me! Plus I need to do them early, when its light out, but I'm mostly creative when its dark, even if that is at 5pm! Shocking! With Christmas one week away (eeeeek!) here is a cute, really simple, cheap, cute idea for how to present your presents. A DIY personalised Christmas stocking!


What you will need is plain stockings, I got mine from Tesco, something like five for a £1 or even cheaper than that. Some felt or whatever material you want to make your names out of. I used felt as that's what the stockings are made out of. I had some felt on hand in green and red, but you can buy them in a craft shop really cheaply too. You'll also need a pen or pencil for writing on the felt, some scissors and a sewing needle and thread. I couldn't find white thread, so used yellow as it's quite light, and I wanted it to contrast with the dark colours.


Write your letters and cut them out. I used a black sharpie since I was cutting the edges off anyway and wasn't worrying about black marks on the letters. I wasn't trying to be neat since I was going to cut them out, you might not feel the need to write them on first, but I wanted them roughly the same size. I'm doing these for my boyfriend, mum and three brothers, so that's a few letters of a few different names up there!


I altered the colours of each letter rather than stick to one colour, and think the dark red and green go quite nicely with the bright red.


Once you've cut out all your letters, arrange them how you like on the stocking to get a general idea of where to place them.


Then sew them on! I know this is a different name, but its the first one I finished as its the shortest! I hand sewed these on, when originally I was going to use my sewing machine. Then I realised if I used it, I would have sewn the stocking together unless I wanted to cut it open, sew on the name, then sew it back up but I think I would make that a bit messy.

Anywho! There you go! Really simple, but it does take a little  bit of time, I prepared everything, cut out the letters and sewed my mums stocking all whilst watching one episode of Glee! I'll have to finish the rest later on, seeing as I'm going to go watch Arthur Christmas finally with my friend, and I need to wrap her birthday and Christmas presents and give them to her early. Next year I want to make Christmas Stockings from scratch, and experiment with them, but I'm happy with these for this year. I've also wrapped up their presents really nicely too so they can't complain! One week! Eeeek!

Friday, 25 November 2011

Creative Mini Advent Calender


I saw on Gem Fatales blog a very cute Christmas mini advent calender DIY as one of her Tuesday Tips. You can check out how to make one in her post as I basically copied everything. She took inspiration from another post involving chewing gums instead of vitamins, but I couldn't find any to work :( I made this for my boyfriend who loves chewing gums, but! He eats really unhealthy, and I like this cute way of looking after him during winter with the vitamins ^_^


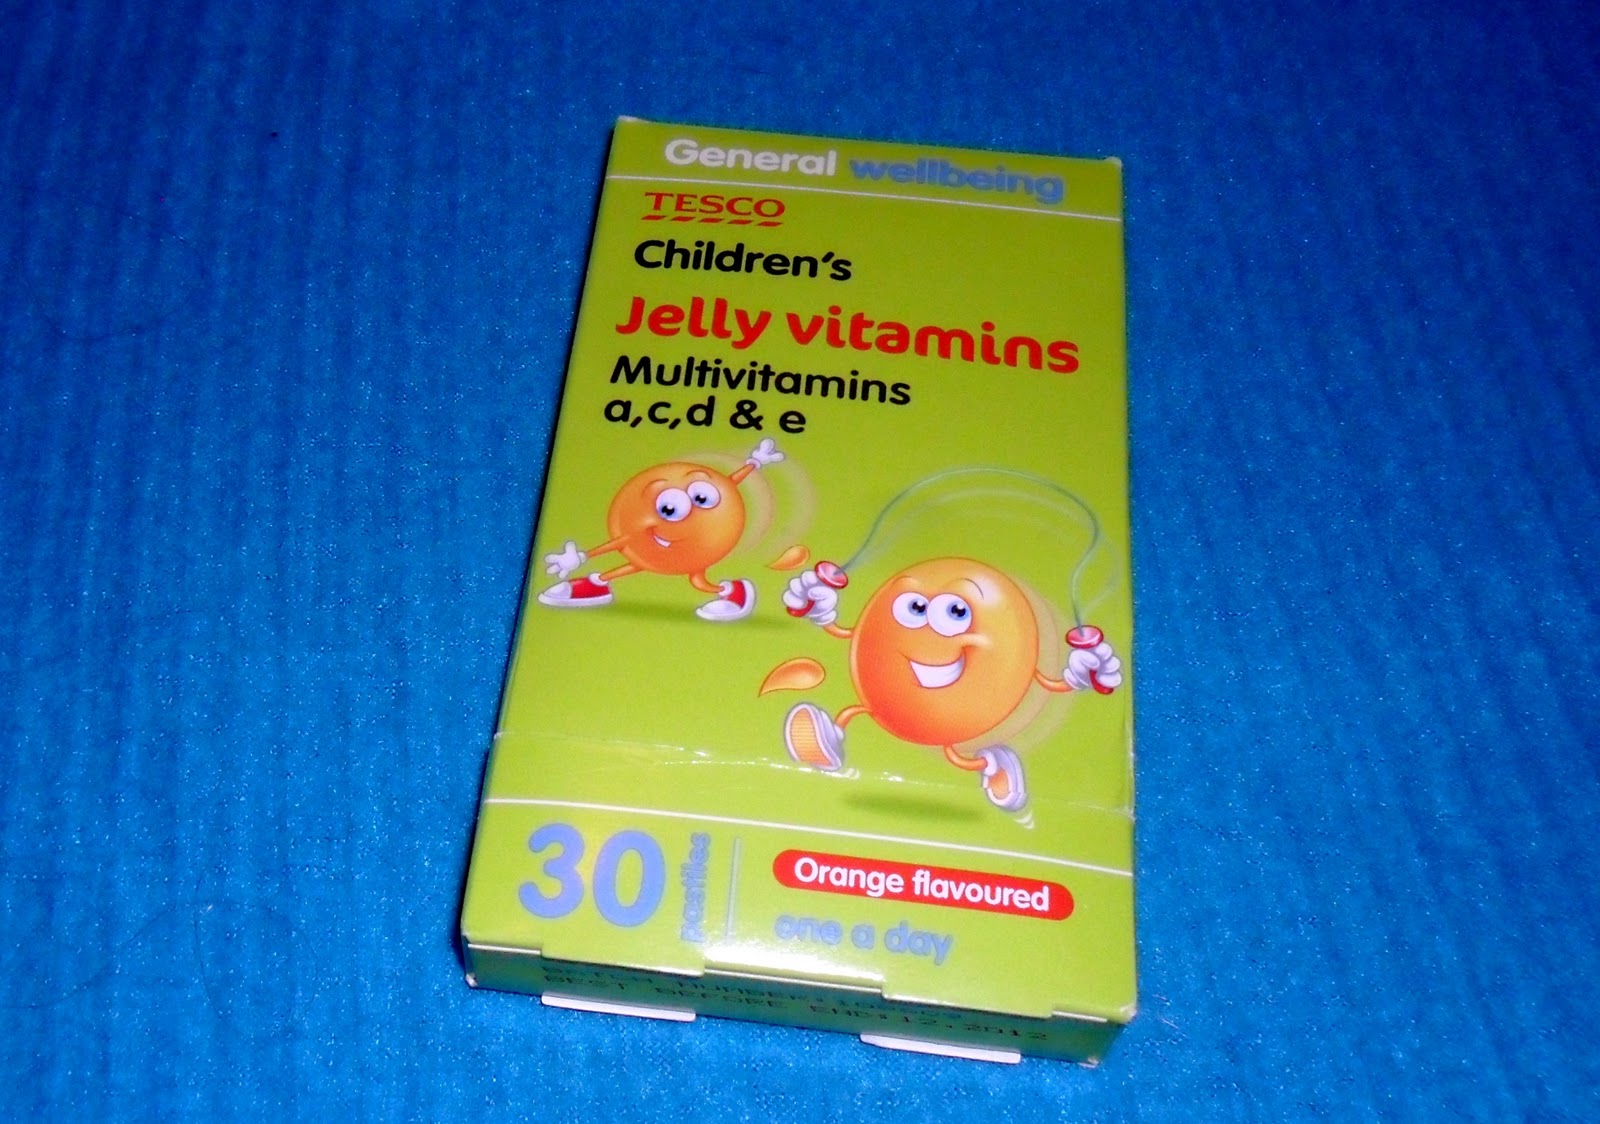
You start off with a pack like these, I'd already cut it in half by this point, since you cut off the extra vitamins, you only need 24, and then the box needs to be smaller. I love the chewy vitamins over the hard disgusting tasting ones any day! I'm a vegetarian so I take iron vitamins and some types taste horrible, bleh. Also sorry for the flash in the photos, it's dark and the lightings not very good.


As you can see, sort of, you then number the side you pop the vitamins out. I did them randomly with Sharpie Pens, but 1-12 on one pack, and 13-24 on the other pack. I cut the bottom row off each pack, and rounded the corners. The extra vitamins are now for me, which is good since I have a horrible cold atm :(


I copied Gem, and bought some stars to use as well, they are so pretty, and less than a £1 in Tesco! and drew terrible drawings of Christmas trees, stockings, presents and baubles. 


The end result! I really love brown wrapping paper, and buy it whenever I see it, so I already had this on hand, used some sticky stars and cut out Rudolph from a Christmas card. I am making cards for Christmas, but, I bought some cards for people in work since there's about 40 people there. I wrote a little note on the back, and stuck stars over the back and sides too. I might have gone a bit overboard with the stars, but they're so pretty! I hope the boy likes them, but I also bought a chocolate advent calender for him too. However he's already won the advent calender gift giving as he bought me a lego advent calender with a lego toy every day instead of chocolate, he is awesome! ^_^

P.S ONE MONTH TILL CHRISTMAS!

Sunday, 20 November 2011

Things I want to make for Christmas


Dolls, Cat/Bunny/Owl Dolls, Photoframes, Christmas Tree Decorations, Friendship Bracelets, Tote Bags, Teapot Candles, Bracelet, Charms, Cookies, Fabric/Illustrated Journals, Personal Stockings and lots more I can't think of right now, my brains tired and I'm going to bed early (for me) for once!